How to Start Stargazing: A Complete Beginner's Guide (UK)
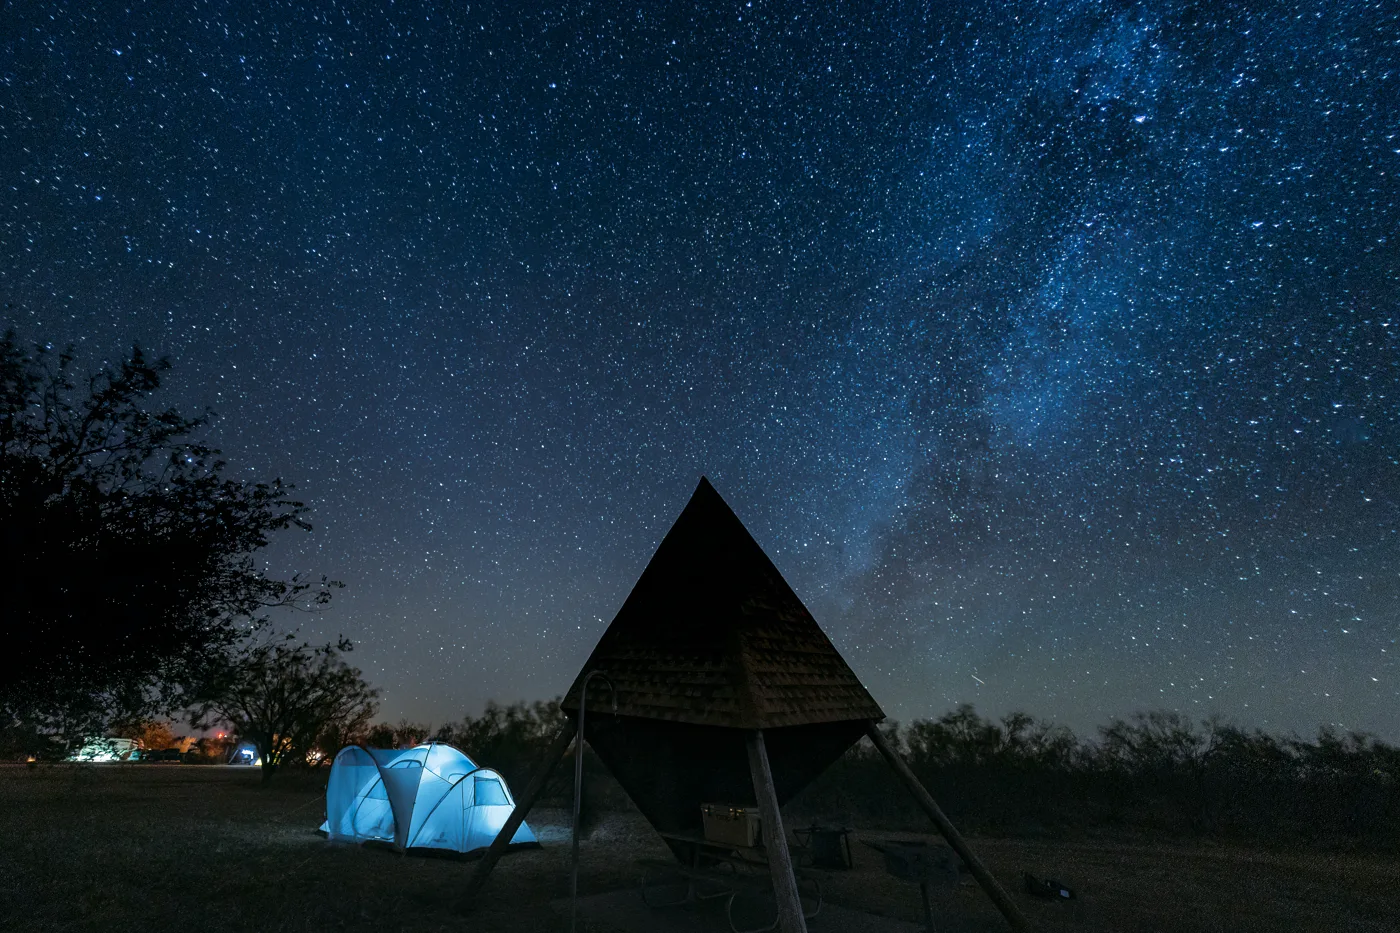
The best way to start stargazing is to walk outside on the next clear night, look up, and give your eyes twenty minutes to adjust. That is genuinely most of it. You do not need a telescope, a dark-sky reserve, or any knowledge of the constellations to begin. The people who stick with astronomy almost all started the same way: naked eye, back garden, learning one patch of sky at a time. This guide walks you through exactly how to do that in the UK, what you will actually see, and when it is worth spending money.
Step 1: Let your eyes adapt to the dark
Your eyes need time to become sensitive enough to see faint stars. After about 15 minutes outside you will already see far more than when you first stepped out, and full dark adaptation takes roughly 40 minutes. One glance at a bright phone screen resets much of that progress, so this is the single mistake most beginners make.
Two habits fix it:
- Cover or dim your phone. Turn the brightness right down, or switch to a red-light mode. Red light preserves night vision far better than white.
- Use a red torch, not a white one. A cheap red head-torch lets you read a star chart without blinding yourself.
Wrap up warmer than you think you need to. Standing still on a clear UK night gets cold fast, and cold is what ends most first sessions early.
Step 2: Pick a decent spot and the right night
You do not need a designated dark-sky site to start, but a few choices make a big difference:
- Get away from direct lights. A garden with a security light glaring in your face is worse than a slightly darker park. Put buildings between you and the worst streetlights.
- Check the Moon. A bright full Moon washes out fainter stars. For faint targets, observe in the days around a new Moon. For the Moon itself, the opposite is true, and a half Moon shows the most surface detail.
- Check the weather. You want clear skies, and ideally stable air. The Met Office cloud forecast is enough to plan a session.
Winter, roughly December to February, is the best season for UK stargazing: the longest nights, often clearer air, and the brilliant winter constellations on show.
Step 3: Learn a handful of signposts first
Do not try to learn the whole sky. Learn three or four reliable patterns and use them to find everything else.
- The Plough (part of Ursa Major) is the easiest starting point, visible all year from the UK. The two stars at the end of its “pan” point straight to Polaris, the North Star.
- Polaris marks true north and barely moves all night, so it orients you.
- Cassiopeia, a big “W” or “M” shape, sits on the opposite side of Polaris from the Plough.
- Orion, with its three-star belt, dominates winter evenings and is the finest signpost in the sky, pointing to bright stars and star clusters nearby.
Once you can find these, everything else is “star hopping” from a pattern you already know.
Step 4: Know what you can actually see with the naked eye
Plenty, as it turns out:
- The Moon, in detail, especially along the terminator (the line between light and dark).
- Planets. Venus is dazzling low after sunset or before dawn. Jupiter and Saturn are easy bright “stars” that do not twinkle; Mars shows an orange tint. A stargazing app will tell you which planets are up tonight.
- Satellites, including the International Space Station, which crosses as a steady bright point over a few minutes.
- Meteor showers. During an annual shower like the Perseids (August) or Geminids (December) you can see shooting stars with no equipment at all.
- The Milky Way, but only from a genuinely dark site on a moonless night.
Step 5: Add kit in the right order
Resist buying a telescope on night one. The order that works:
- Spend a couple of months naked eye, learning the signposts and where the planets sit.
- Add binoculars. A 7x50 or 10x50 pair is the best-value upgrade in all of astronomy: they show craters on the Moon, Jupiter’s four big moons, star clusters and far more stars. See our guide to the best binoculars for stargazing in the UK, and if you are torn, telescope or binoculars first settles it.
- Add a telescope once you can find things by eye, so you know where to point it. When you get there, our beginner telescope guide and how to buy your first telescope cover what to look for.
A free planetarium app on your phone (kept on red or dim mode) is the one “extra” worth having from night one, because it turns unknown dots into named planets and constellations.
A realistic first session
Give yourself an hour. Step outside, put the phone away, and let your eyes adjust while you find the Plough and Polaris. Trace over to Cassiopeia, then to whatever bright planets are up. Watch for a satellite drifting across. If it is winter, find Orion’s belt and the fuzzy Orion Nebula just below it. That is a complete, satisfying first night, and it cost you nothing.
For where to go when you want darker skies, the UK has a growing network of Dark Sky Discovery sites and reserves; the charity-run Go Stargazing lists events and dark spots near you, and the Royal Observatory Greenwich publishes a monthly guide to what is up.
Frequently asked questions
How do I start stargazing with no equipment? Go outside on a clear night, keep away from direct lights, and let your eyes adapt in the dark for at least 20 minutes without looking at a bright phone. Learn to find the Plough and Polaris first, then work outwards. That alone shows you planets, constellations, satellites and meteors.
What can I see stargazing with just my eyes in the UK? The Moon in detail, the brighter planets (Venus, Jupiter, Saturn, Mars), the International Space Station, meteor showers, thousands of stars, and from a dark site the Milky Way.
When is the best time to start stargazing in the UK? Winter (December to February) gives the longest, often clearest nights and the best constellations. On any night, aim for clear skies and, for faint objects, the days around a new Moon rather than a full one.
Do I need a telescope to begin? No. Most experienced observers recommend a couple of months of naked-eye stargazing first, then binoculars, and only later a telescope once you can find objects by eye.
How long does it take for eyes to adjust to the dark? You will notice a big improvement after about 15 minutes, with full dark adaptation taking roughly 40 minutes. A single glance at a white phone screen undoes much of it, so use red or dimmed light.
Where can I stargaze near a city? Any spot that puts buildings between you and the brightest streetlights helps. For darker skies, look up nearby Dark Sky Discovery sites or organised stargazing events rather than driving blindly into the countryside.
Clear skies forecast? Get a nudge.
Our weekly email flags the next good UK observing window and one easy target to find.
Join the listMore from Starvest
Keep reading
Best Telescopes for Beginners in the UK (Tested by Price Bracket)
The best beginner telescopes in the UK by budget, from sub-£150 tabletop scopes to app-guided and smart telescopes, with real 2026 prices.
What Can You See with Binoculars at Night? A Realistic Astronomy List
A realistic list of what you can see with binoculars in astronomy, from the Moon and Jupiter's moons to Andromeda, with tips for spotting each from the UK.
How to Set Up and Use Your First Telescope (Step by Step)
How to use a telescope as a beginner: assemble the mount, align the finder, focus, and find your first targets. A clear step-by-step UK guide.