Photograph the Moon With a Phone Through a Telescope

You can photograph the Moon with a phone through a telescope, and the results are far better than most people expect. You can also spend an hour holding a handset over an eyepiece, produce forty blurred white blobs, and conclude that it does not work. The difference is not the phone. Recent iPhones and Pixels have plenty of sensor for this job. The difference is three things: something holding the phone still, manual control of exposure, and shooting video instead of stills.
This page is the order to do those things in, the numbers that matter, and the four problems that account for nearly every failed lunar shot.
Why the Moon is the easy target
The Moon is sunlit rock. It is a daylight subject that happens to be visible at night, which is why terrestrial exposure rules roughly apply to it and why you do not need long exposures, tracking or a star tracker. Everything hard about astrophotography, guiding, dark frames, twenty-minute subs, belongs to deep sky work. The Moon needs none of it.
That also explains the single most common mistake. Point a phone at the Moon on auto and the camera meters for the enormous black sky surrounding it, decides the scene is dark, and floods the exposure. You get a white disc with no features. The Moon is not overexposed because your phone is bad; it is overexposed because you asked it to expose for the sky.
What you actually need
A phone adapter. This is not optional and it is the piece people try to skip. Handholding fails because the phone camera’s entrance pupil has to sit within a couple of millimetres of the eyepiece’s exit pupil, dead on axis, and hold there while you tap the screen. Human hands cannot do that. The Celestron NexYZ is the one most people end up with, because its three adjustment knobs let you move the phone in X, Y and Z independently, so you align once and then leave it. Cheaper single-clamp adapters work, but you fight them on every alignment.
A medium-focal-length eyepiece. Around 20mm to 25mm. Not your shortest one.
Nothing else. No Barlow, no filters, no telephoto adapters. Resist all of it on the first night.
The eyepiece choice is the whole trick
Here is the part the tutorials skip. The image leaving your eyepiece forms a cone of light called the exit pupil, and its size is the eyepiece focal length divided by the telescope’s focal ratio. A 25mm eyepiece on an f/5 reflector gives a 5mm exit pupil. A 6mm eyepiece on the same scope gives 1.2mm.
Your phone’s main camera has a physical entrance pupil of roughly 3 to 4mm. When the exit pupil is comfortably bigger than that, the camera sits inside a generous beam of light and alignment is forgiving. When the exit pupil is 1.2mm, you are trying to thread a needle, the image blacks out if you breathe on the adapter, and the view is dim and soft.
So go long. Start with your 25mm, get a photograph, then try 20mm. The magnification is lower than you wanted and the Moon will not fill the frame, and that is fine: you crop later, and the sharpness you keep is worth far more than the empty magnification you gave up. Our notes on what telescope eyepieces actually do cover how the focal length relates to magnification if the maths is new.
One extra trick: if your phone has a 2x or 3x telephoto camera, try it. Its narrower field of view crops out the dark ring of vignetting that the main camera picks up around the eyepiece edge, and its smaller entrance pupil is easier to align. On many phone and telescope combinations the telephoto gives the cleanest frame.
Shoot on the terminator, not the full Moon
The full Moon is the worst night of the month for this. The Sun is directly overhead on the lunar surface, nothing casts a shadow, and you photograph a flat glaring disc. Three to five days either side of first or last quarter, the terminator runs down the middle of the disc, crater walls throw shadows across their own floors, and the same phone through the same telescope produces an image with actual depth. Observing the Moon with a telescope goes through the phases in detail; for photography the rule is simply that you want shadows in the frame.
The settings, in the order you set them
- Focus the telescope by eye first, at the eyepiece, before the phone goes anywhere near it. Get it genuinely sharp.
- Mount the phone and centre it. Slide it in until the Moon appears, then adjust until the disc sits centrally with no dark crescent at the edge.
- Lock focus and exposure. On an iPhone, press and hold on the Moon until AE/AF LOCK appears at the top. On Android, the native camera usually has a similar hold-to-lock, and Pro mode is better still.
- Pull the exposure down. With the lock active, drag the slider (the little sun) downwards until the Moon looks slightly darker than you think it should. Detail you cannot see on a phone screen at night is usually still in the file. Blown highlights are gone forever.
- Drop the ISO if you have Pro mode. ISO 50 to 100 is plenty. The Moon is bright. High ISO buys you nothing here except noise.
- Use a short shutter. Something in the region of 1/100s to 1/250s at the eyepiece is a sensible starting bracket; the exact figure depends on your scope’s focal ratio and the phase, so bracket around it rather than trusting one number.
- Do not touch the phone to take the shot. Use the volume button on wired earbuds, the phone’s own timer, an Apple Watch, or voice control. Tapping the screen shakes the whole assembly and every frame at that moment is ruined.
Then stop taking photos and take video
This is the step that separates a snapshot from a picture people ask about. Set the phone to its highest-quality video mode, 4K at 60fps if it has it, and record thirty to sixty seconds of the Moon.
The atmosphere above you is constantly moving, and it smears the image in a way that changes many times per second. Astronomers call this the seeing, and it sets a hard ceiling on how sharp any single frame can be. But in sixty seconds of video, a handful of moments happen when the air above you is briefly still. Stacking software finds those frames, discards the rest, and aligns and averages what it keeps. Noise falls, real detail survives, and the result is dramatically sharper than the best single photograph you could have taken.
The free workflow that lunar imagers actually use:
- PIPP to stabilise, centre and crop the video, and convert it into a format the stacker likes.
- AutoStakkert! to grade and stack the frames. For the Moon, choose the Surface stabilisation mode rather than the Planet setting, and stack roughly the best 20 to 50 per cent of frames.
- RegiStax for wavelet sharpening at the end, in small amounts. Wavelets are where beginners overcook an image into a crunchy mess. Move the top two sliders a little, then stop.
All three are free and run on Windows. A single evening’s video, stacked, will beat every still you took that night.
The four things that go wrong
A white featureless disc. Exposure not locked, or locked and not reduced. Go back to step 4 and pull it further down than feels right.
A dark ring or a half-black frame. Alignment. The phone camera is off the optical axis or too far from the eyepiece lens. Adjust in one axis at a time; this is exactly what a three-axis adapter is for.
Sharp on screen, soft in the file. Either the phone refocused when you pressed the shutter, which is why the focus lock matters, or vibration. Add a two-second timer.
Sharp core, coloured fringes on the limb. Atmospheric dispersion, worst when the Moon is low. Wait until it climbs higher, or accept it and fix it in processing.
One more thing worth doing on the same night
While the rig is assembled, swing to a planet. Jupiter and Saturn respond to the same video-and-stack approach, though they need higher magnification and much more patience because they are far smaller and dimmer. What you can actually see of the planets sets sensible expectations before you spend an hour on it.
Frequently asked questions
Can I photograph the Moon with a phone through a telescope without an adapter? You can get a recognisable shot handheld if the Moon is bright and your eyepiece is long, and people do it all the time. What you cannot do handheld is repeat it, take video, or adjust settings while keeping alignment. An adapter costs less than almost any other telescope accessory and changes the hit rate from roughly one frame in forty to nearly every frame.
What eyepiece focal length should I use? Start at 20mm to 25mm. Longer eyepieces give a larger exit pupil, which makes phone alignment far more forgiving and the image brighter, at the cost of magnification you can recover by cropping. Short eyepieces and Barlow lenses look tempting and produce dim, wobbly, hard-to-align results on a phone.
Do I need a tracking mount? No. Lunar exposures are short enough that a static alt-azimuth mount is fine. You will have to nudge the scope every minute or so as the Moon drifts out of the field, which is mildly annoying during a sixty-second video, so use a slightly wider field than you think you need and re-centre between takes.
Which Moon phase photographs best? Anything but full. First quarter and last quarter, and the few days either side, put the terminator across the visible disc and give you shadows, relief and texture. A gibbous Moon still works. A full Moon gives a flat bright disc that looks worse than a decent phone photo taken without any telescope at all.
Is a dedicated planetary camera much better than a phone? Yes, eventually, but not on night one. A cheap planetary camera gives you uncompressed frames, higher frame rates and no phone processing getting in the way, and for serious lunar work it is the upgrade. For a first year of lunar imaging, a phone plus a stable adapter plus free stacking software gets you most of the way, and it teaches you the workflow before you spend anything.
Why do my photos look worse than what I see in the eyepiece? Partly because your eye is very good at picking the sharp moments in unsteady air and ignoring the rest, which is exactly what stacking software imitates. Partly compression: a phone’s single JPEG throws away detail. Shoot video, stack it, and the gap closes fast.
Clear skies forecast? Get a nudge.
Our weekly email flags the next good UK observing window and one easy target to find.
Join the listMore from Starvest
Keep reading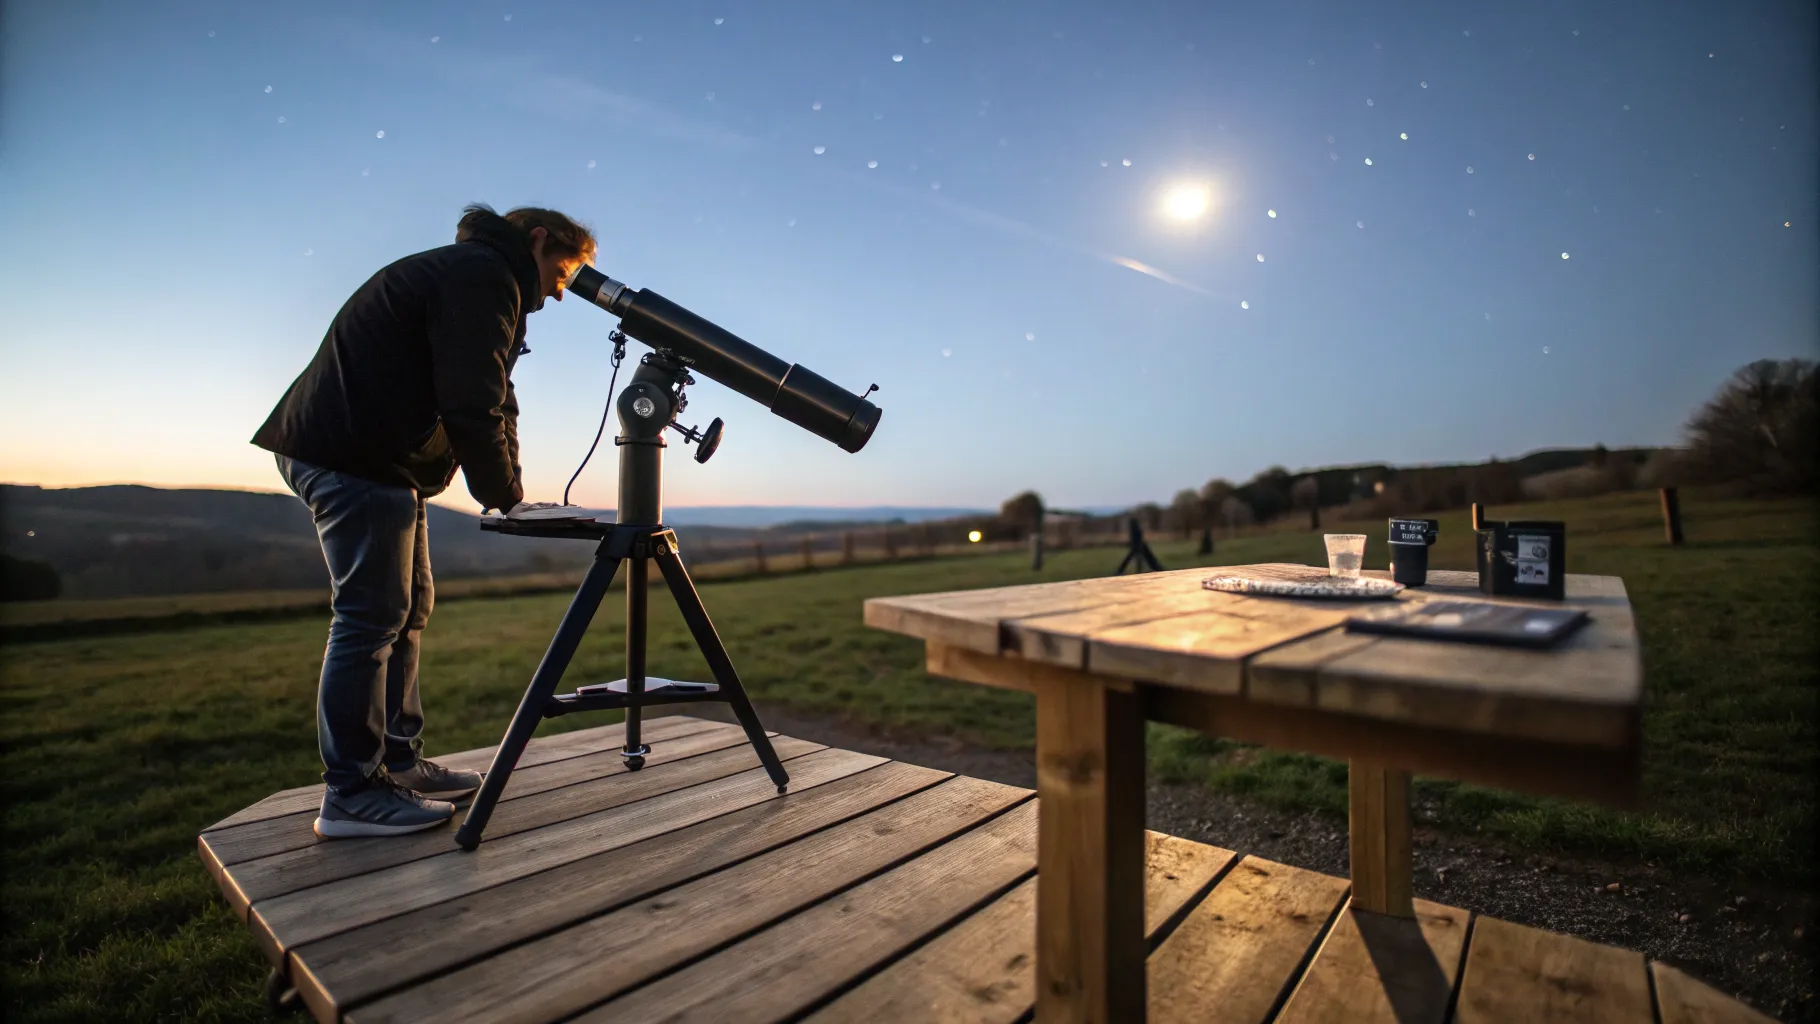
Best Telescopes for Beginners in the UK (Tested by Price Bracket)
The best beginner telescopes in the UK by budget, from sub-£150 tabletop scopes to app-guided and smart telescopes, with real 2026 prices.
What Can You See with Binoculars at Night? A Realistic Astronomy List
A realistic list of what you can see with binoculars in astronomy, from the Moon and Jupiter's moons to Andromeda, with tips for spotting each from the UK.
How to Set Up and Use Your First Telescope (Step by Step)
How to use a telescope as a beginner: assemble the mount, align the finder, focus, and find your first targets. A clear step-by-step UK guide.